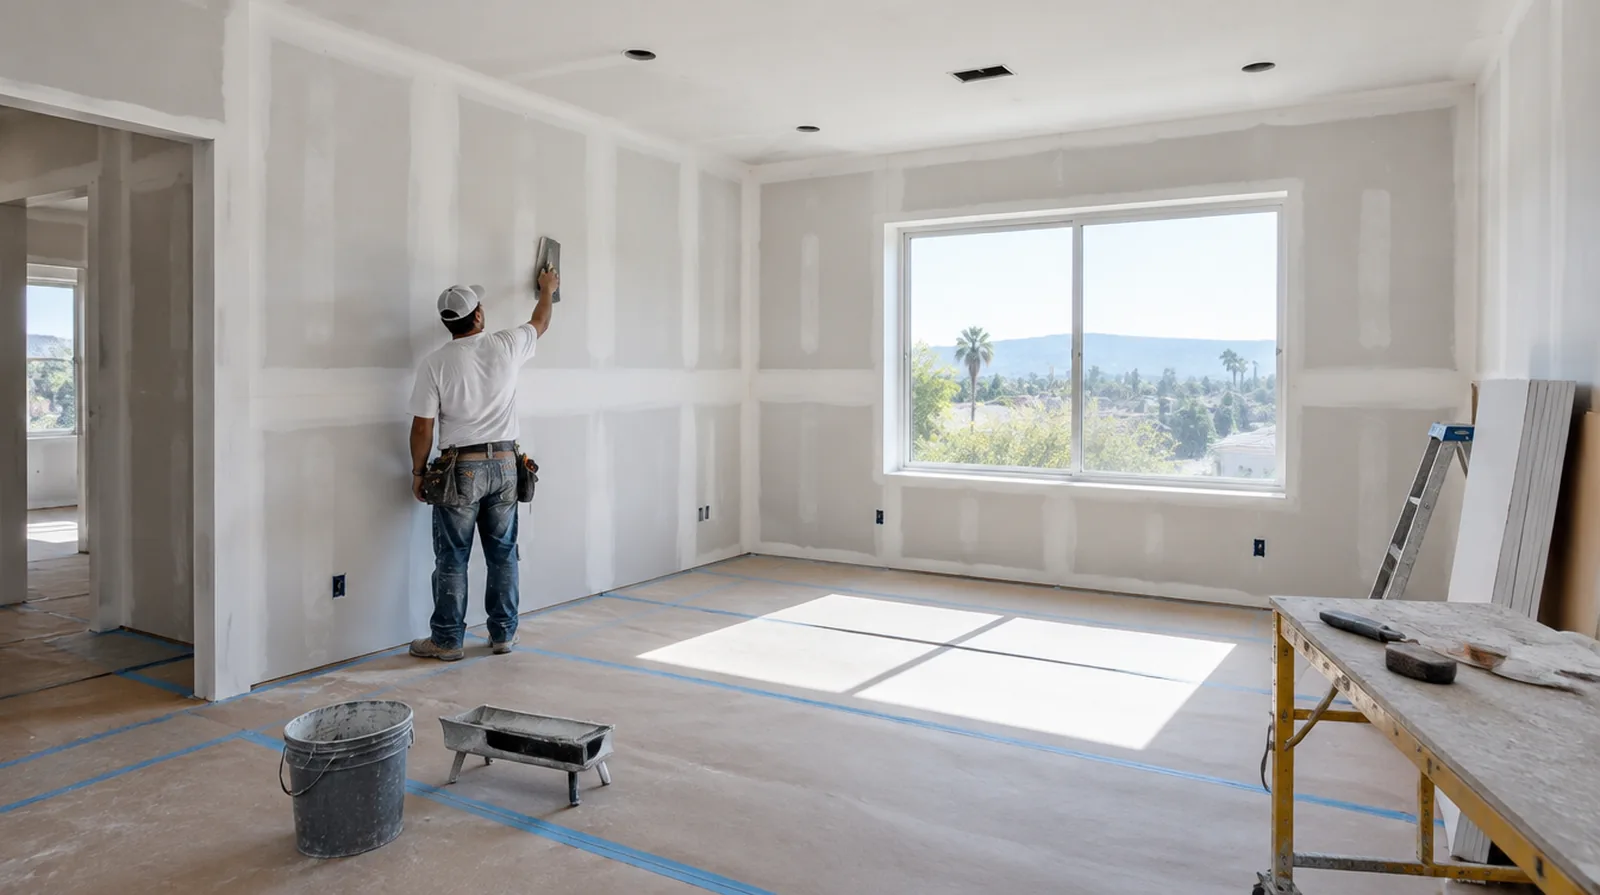
A plan built around the room, not only the patch
A room looks complete when its walls and ceiling support the decoration instead of drawing attention to old damage. Ontario Drywall Company presents the choices for property improvement in Ontario, from replacing broken board to refining the finish on a broader surface. The useful starting question is not only how large the mark is. Ask what remains stable, whether moisture is involved and what the final coating will reveal. Those answers help distinguish a small supported patch from work that needs removal or another professional assessment. Decide the intended result before choosing the method, then make the preparation and handover boundaries part of the same written plan.
Water Damage Drywall Repair: finish after moisture control
Tape and finishing compound belong on stable dry material instead of a damp or deteriorating substrate. Give each finishing layer time to dry rather than trapping dampness under additional material. For this part of the project, allow for an assessment that can distinguish stable material from layers that ought not to be covered. See the water damage drywall repair guide for the scope questions, preparation stages and finishing decisions specific to that work.
Drywall Installation: inspect before decoration
The most useful final review happens after the surface is dry and before cabinets or wall coverings hide the edges. Use the agreed lighting and note any further preparation the painter should expect. For this part of the project, check the clearance for panel movement as well as the amount of space available for finishing tools. See the drywall installation guide for the scope questions, preparation stages and finishing decisions specific to that work.
Commercial Drywall: lay out doors and glazing
Set out openings with the dimensions and support needed by their specified doors and glazing. Coordination with door and glazing installers helps keep the finished lines consistent. For this part of the project, allow for intervals between coats as well as active labor rather than assuming the entire process happens continuously. See the commercial drywall guide for the scope questions, preparation stages and finishing decisions specific to that work.
Skim Coating: choose paint with the finish
Higher sheen coatings can emphasize small variations that a matte finish makes less obvious. Connect the paint selection to the agreed preparation standard before deciding how extensive the skim work should be. For this part of the project, separate hands on labor from drying intervals instead of treating every visit as a full day of active work. See the skim coating guide for the scope questions, preparation stages and finishing decisions specific to that work.
Ceiling Repair: add reliable backing
A ceiling patch needs fastening support on its edges rather than relying on compound to carry its weight. Fit compatible board thickness so the old and new faces meet without an unneeded step. For this part of the project, assess which layers are adequately bonded and which should be removed rather than simply hidden beneath new material. See the ceiling repair guide for the scope questions, preparation stages and finishing decisions specific to that work.
Popcorn Ceiling Removal: check for painted coatings
Paint over a textured coating could change how readily the material releases. A small controlled assessment helps explain labor and potential damage to the underlying surface. For this part of the project, allow for an assessment that can distinguish stable material from layers that ought not to be covered. See the popcorn ceiling removal guide for the scope questions, preparation stages and finishing decisions specific to that work.
Texture Matching: judge from normal positions
Assess the dried texture from everyday viewpoints rather than judging only a close view of a wet sample. The planned paint sheen and oblique light both belong in the final appearance discussion. For this part of the project, check that both include the same protection, finishing and cleanup boundaries instead of comparing totals alone. See the texture matching guide for the scope questions, preparation stages and finishing decisions specific to that work.
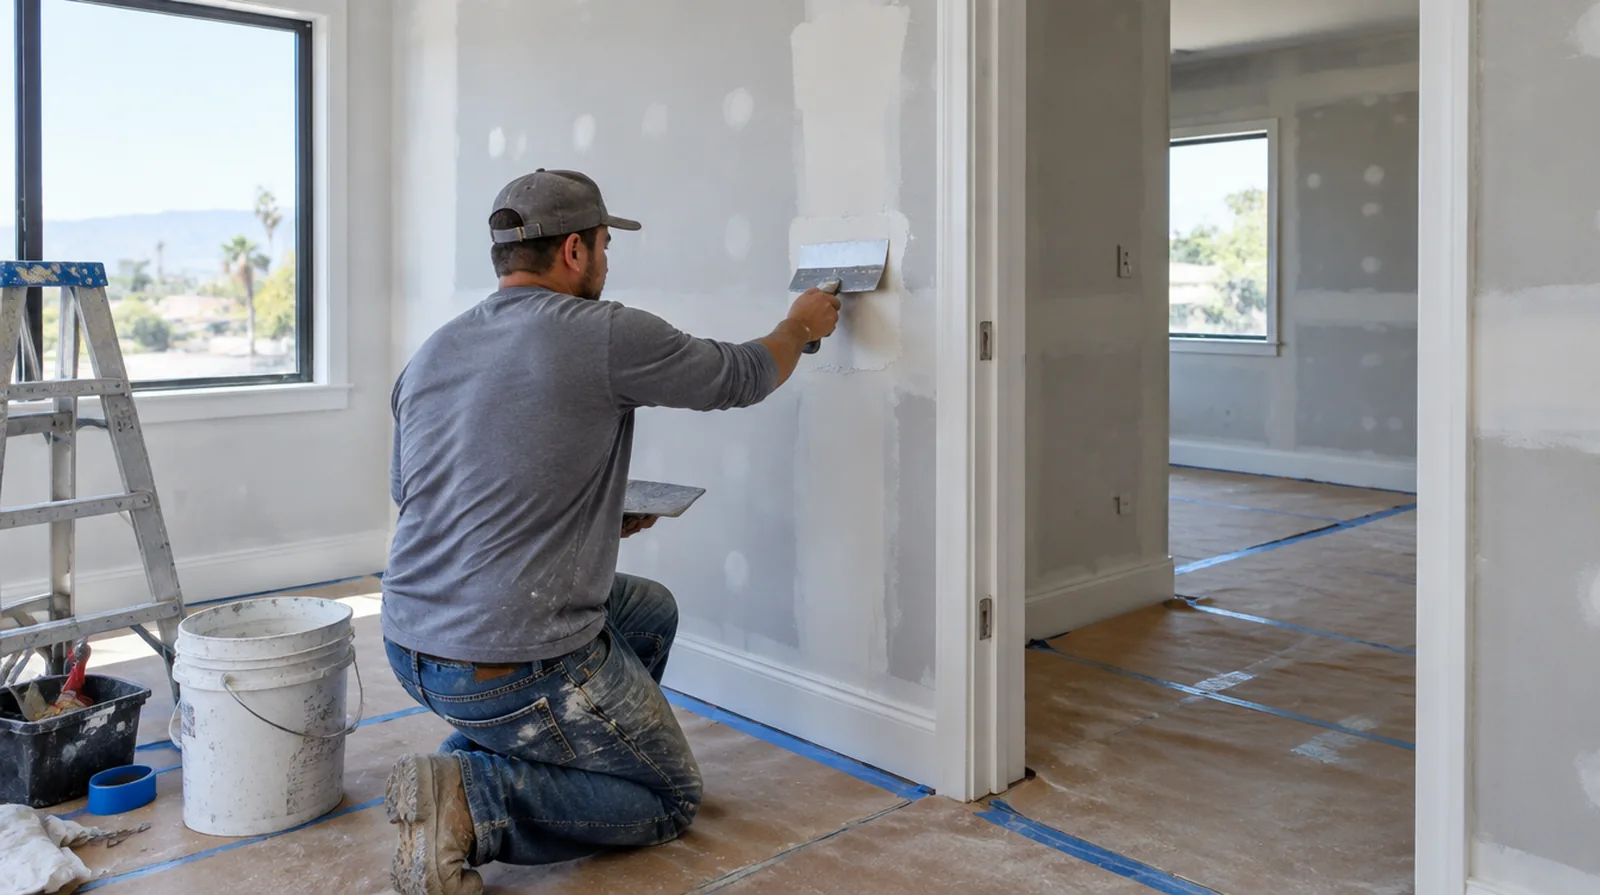
Drywall Repair: review with side lighting
Use an angled view as well as a direct view when reviewing a finished patch. Checking from more than one angle helps separate surface imperfections from differences in paint sheen. For this part of the project, plan the protection and access route so other occupants are not needlessly obstructed by deliveries. See the drywall repair guide for the scope questions, preparation stages and finishing decisions specific to that work.
Soundproof Drywall: include flanking paths
Sound can travel around a treated wall through ceilings, floors and adjoining partitions. Review those flanking routes when explaining why a single wall treatment may provide only part of the solution. For this part of the project, describe when the mark first appeared and whether it has changed through more than one season. See the soundproof drywall guide for the scope questions, preparation stages and finishing decisions specific to that work.
Drywall Finishing: choose joint materials
Bedding coats and final coats serve differing purposes and may use different compatible compounds. Selection should reflect joint type, indoor conditions and the manufacturer guidance rather than convenience alone. For this part of the project, state whether the obstruction will be removed or whether finishing stops at the section that can be reached. See the drywall finishing guide for the scope questions, preparation stages and finishing decisions specific to that work.
Access and drying conditions in Ontario
A workable schedule is based on more than the number of hours spent holding tools. Consider material delivery routes and floor covering, where materials can stay dry and how occupants will move around the protected area. With hot dry periods and cooled interiors, the finishing process still depends on suitable indoor conditions and adequate intervals between coats. In Ontario, a project involving choosing a finish for a busy room should identify the point when the underlying assembly is ready before new board or compound conceals it. If other rooms stay occupied, separate the working boundary from the access that daily routines require. If the property is empty, agree how the broader space can be used without risking retained floors or fittings.
Compare the same finishing boundary
Price has context only when the intended result is described clearly. Check whether the work ends with hung board, finished joints or a surface ready for decoration. Review the support at replacement edges and the amount of surrounding material included in the blend. Then discuss the parts that are easily overlooked: access preparation, cleanup, primer and the work of disconnecting or reinstating fittings. Some of those tasks may belong to another trade, which is useful to know before a start date is agreed. An unexpected condition should be assessed openly and added to the scope only after its effect has been explained.
Arrange the information before the next step
Prepare a wide photograph of the room, closer views of the affected surface and rough measurements. Note any known leaks, earlier repairs or changes in the building. Describe the desired appearance after decoration and whether the room needs to remain occupied. A site assessment can then focus on the material condition and the most suitable method, instead of using the first visit only to discover basic access details. Visit the contact page for the business address and a map of the area served. Use the form to describe the work; or call the number shown at the top of this page.
Read about the project approach or view contact and planning details.
More planning details for Ontario
Ontario property improvements often involve a simple practical question: what will this wall look like when the room is back in daily use? If afternoon light crosses the surface, judge the proposed finish under that condition rather than only under overhead work lighting. Describe any wall mounted items that will be removed or added, because backing and outlet adjustments are easier to coordinate before finishing.