How the room shapes the plan
Ontario property improvements often involve a simple practical question: what will this wall look like when the room is back in daily use? If afternoon light crosses the surface, judge the proposed finish under that condition rather than only under overhead work lighting. Describe any wall mounted items that will be removed or added, because backing and outlet adjustments are easier to coordinate before finishing. Material delivery also needs a route with enough turning space for the selected sheet size.
Questions worth resolving early
At an edge beside built in furniture, state whether the obstruction will be removed or whether finishing stops at the section that can be reached.
At the handover inspection, review the finish from ordinary room positions using the lighting conditions that were agreed for the work.
When the history of a repair is uncertain, note when it became visible and whether its appearance has altered across distinct seasons.
Where occupants have dust sensitivity concerns, agree containment and cleaning measures before settling the way the room will be staged.
When building management controls access, agree delivery hours and common area protection before committing to a start or finish date.
If the proposal requires return visits, identify the purpose of each stage and the intervals during which finishing material needs to remain undisturbed.
When concealed damage is possible, establish how additional findings and any proposed removal will be recorded before the scope changes.
For a room with restricted airflow, plan drying conditions alongside dust protection and the comfort of people occupying neighboring spaces.
If the decorative coating is already chosen, share its sheen and color early because those choices influence how surface preparation is judged.
If the surface condition is uncertain, allow for an assessment that can distinguish stable material from layers that should not be covered.
For a planned new wall mounted fixture, resolve its backing requirements while the cavity remains open instead of cutting into completed drywall later.
If a room has only limited ventilation, discuss how the finishing materials can dry without disrupting comfort or spreading dust elsewhere.
For a surface that will receive wall covering, share the product requirements early so the finishing stage supports the planned decorative treatment.
When the same defect has returned, share information about previous repair methods so the next assessment can consider why they did not last.
When photographs are used for an initial discussion, include a wide room view as well as a close view so scale and surrounding finishes are understandable.
For a project with several trades, agree which inspection or handover point must happen before the next person starts work.
About the illustrations
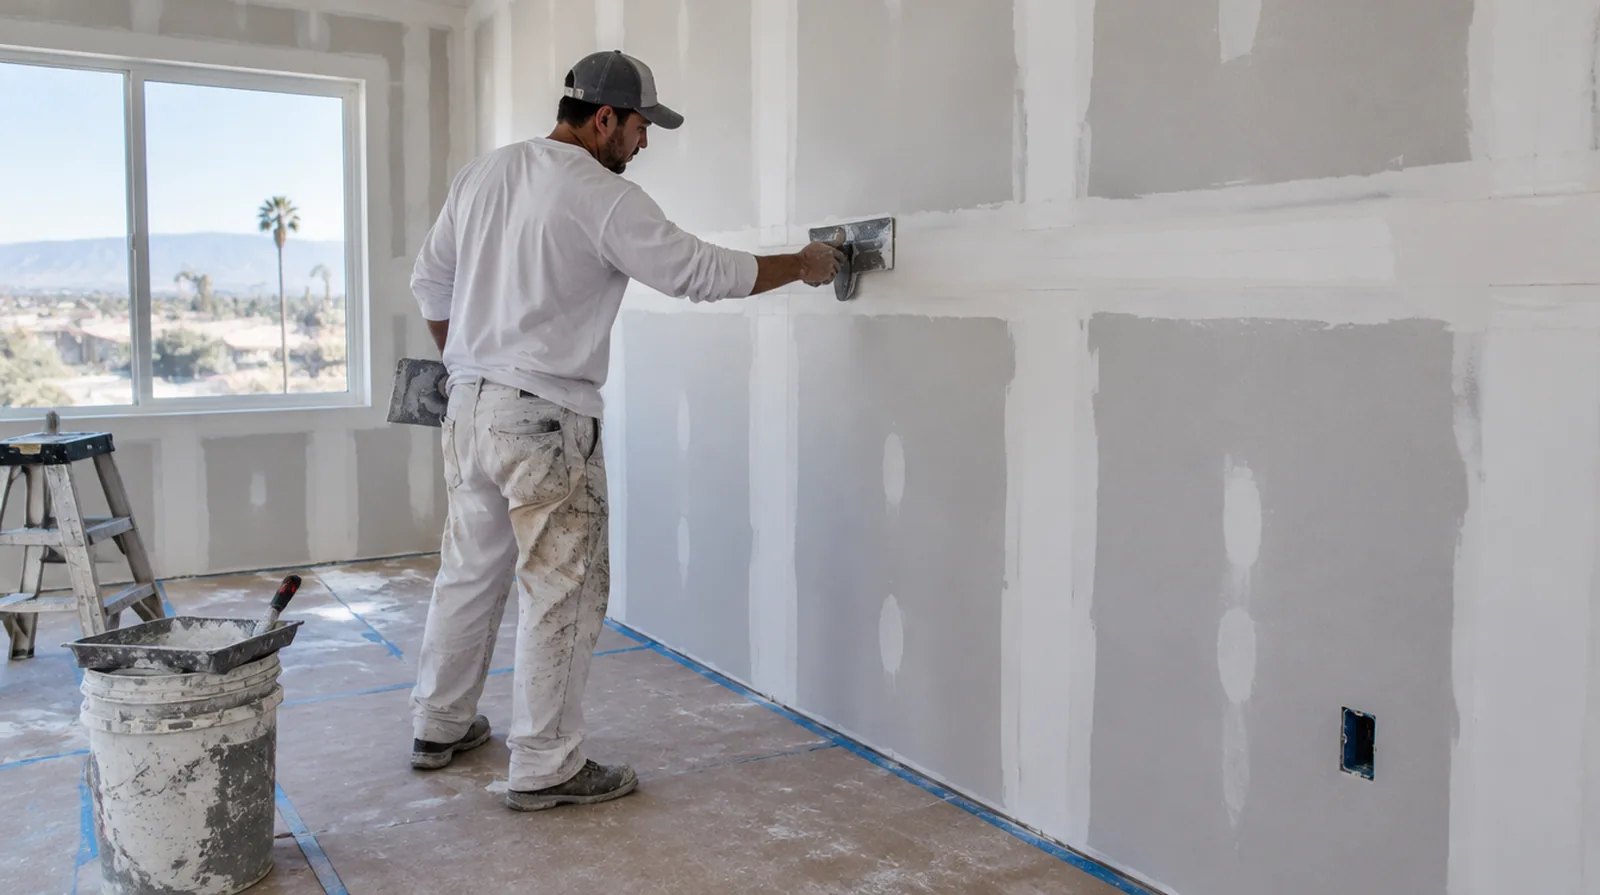
The website images are generated examples of drywall interiors and methods, not photographs of completed customer work. No customer reviews or qualifications are implied. The project form is connected; the telephone remains a placeholder.
Explore the drywall services or view the address and map.
Connect the assessment to the result
For an Ontario room, a useful project discussion connects the existing wall with the way the space will be used after decoration. A decorative finish should be chosen with the normal viewing positions in mind, not only the appearance of a small fresh sample. Describe the elements that will remain, the surfaces that will change and any later installation that could interrupt completed work. The preparation proposal can then address a defined result. Record where one trade hands over to another so the final cleanup does not become the first time anyone discusses the remaining painting and trim responsibilities.