Coordinate with the painter
A primer coat sometimes makes small surface defects easier to identify than raw white compound. Establish responsibility for those final adjustments and any review after priming before the work starts. If the decorative coating is already chosen, share its sheen and color early because those choices influence how substrate preparation is judged.
Embed the tape
Tape needs a properly bonded bedding coat underneath its full length. At an internal angle, form a clean crease and finish both sides without leaving unsupported edges. For a project with several trades, agree which inspection or handover point must happen before the next person starts work.
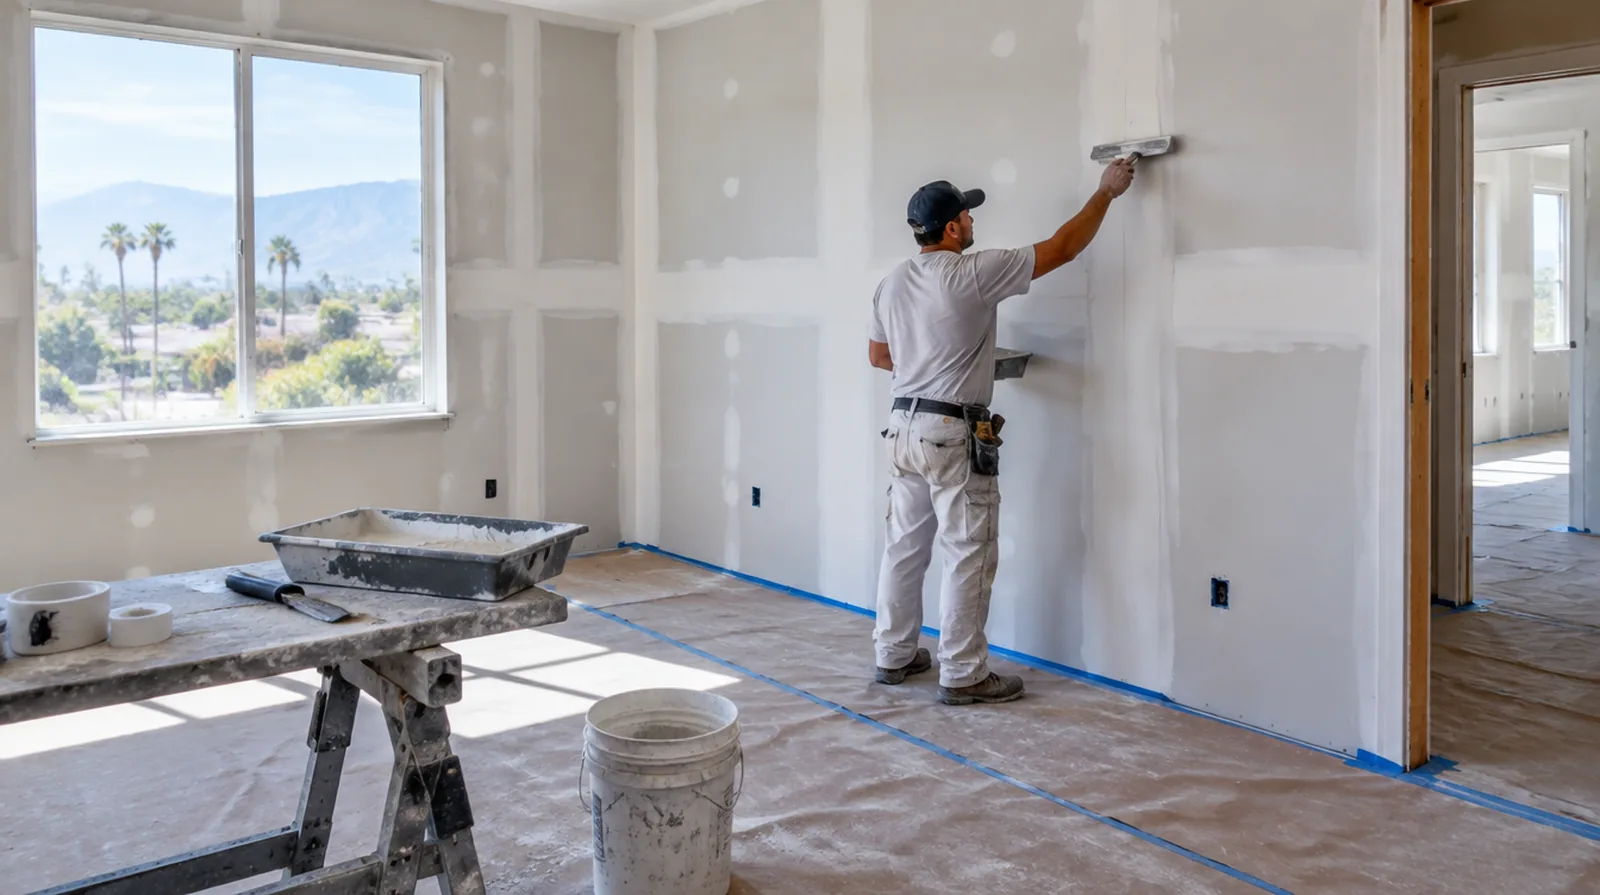
Choose joint materials
Joint bedding and the last surface coats do not necessarily call for identical products. Choose compatible compounds with regard to their intended purpose, the space and the relevant product instructions. When comparing competing estimates, make sure their protection, surface finish and disposal allowances describe equivalent work before comparing the final prices.
Cover fastener heads
Fill fastener depressions level with the surrounding face without creating avoidable mounds. A screw that protrudes or has broken the paper ought to be addressed before it is concealed. When painting is outside the proposal, describe the remaining decorative preparation clearly so another contractor can price that stage accurately.
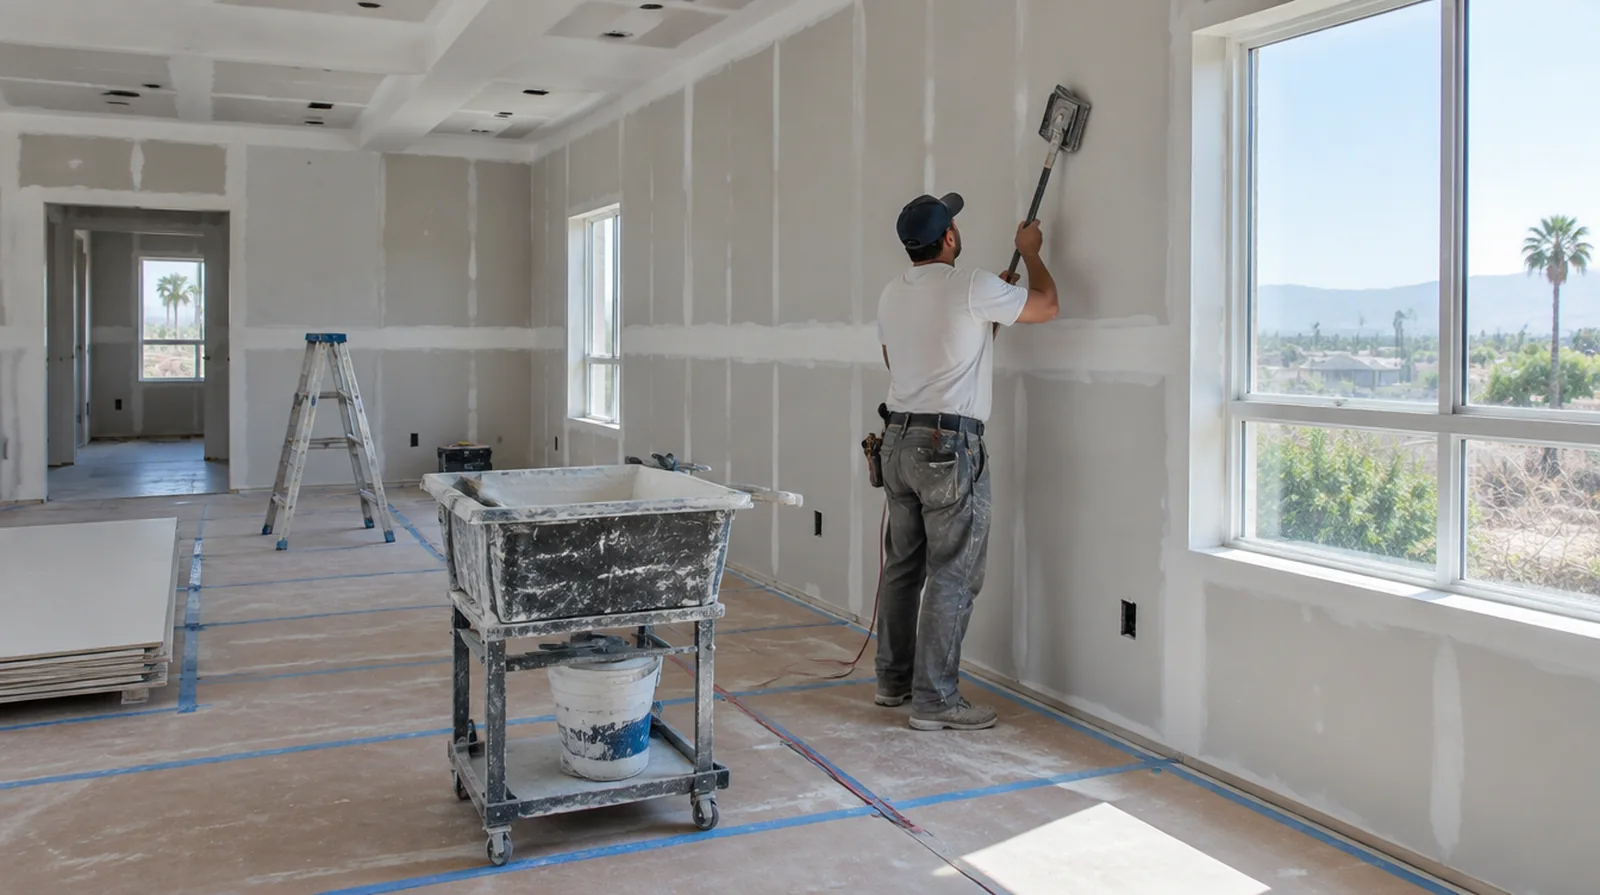
Use controlled sanding
Sanding should refine small tool marks rather than grind away a badly shaped joint. Dust management remains necessary even when only a limited number of seams are being finished. For a small repair with extensive setup, compare the total scope rather than assuming the price should follow the hole dimensions alone.
Assess the hung board
Finishing cannot fully correct unsupported edges or panels that sit on differing planes. Fastener depth and board alignment ought to be checked before joint treatment begins. If a room has only limited ventilation, discuss how the finishing materials can dry without disrupting comfort or spreading dust elsewhere.
Inspect the whole wall
Review corners, returns and service openings as well as the straight seams in the main wall. Use the intended room lighting where practical and include an oblique view across the plane. When the wall surface has strong reflected light, look at the full plane rather than judging only the narrow strip immediately beside the patch.
Allow genuine drying time
A firm outer skin does not always mean the material beneath it is ready for sanding. Temperature, air movement and room humidity affect the interval between stages of finishing. When the wall has strong reflected light, look at the full plane instead of judging only the narrow strip immediately beside the patch.
Keep external corners straight
Corner bead provides a consistent line but needs secure installation and sufficient compound coverage. Resolve distortion or damage to the bead before successive coats make correction more demanding. When painting is outside the proposal, describe the remaining decorative preparation clearly so another contractor can price that stage accurately.
Build the seam gradually
Successive coats widen the finished area and soften the transition from joint to board face. Square cut sheet ends need particular care because they do not offer the recess of tapered factory edges. If access passes through a shared space, arrange protection and a delivery route that do not unnecessarily obstruct other occupants.
Project context in Ontario
When a property remains furnished, plan where the contents will be protected and how the next room can remain usable. Material delivery also needs a route with enough turning space for the selected sheet size.
Scope questions before finishing
Where existing floors will remain, specify protective measures and review the path used by panels, equipment and finishing tools.
Where light reflects along the wall surface, inspect the complete plane instead of limiting the review to the edge immediately next to the repaired section.
Where a neat final edge matters, agree whether the finish ends against existing trim or whether that trim will be removed and replaced.
When painting is outside the proposal, describe the remaining decorative preparation clearly so another contractor can price that stage accurately.
For walls beside bright windows, review a dry sample from an oblique angle as well as looking straight at the repaired surface.
For a planned new wall mounted fixture, resolve its backing requirements while the cavity remains open instead of cutting into completed drywall later.
If occupancy must resume on a certain day, include the later primer and paint stages in the timetable as well as drywall installation and finishing.
If the ceiling or wall includes fittings, identify the person responsible for removing and reinstalling each item before the work begins.
Where the quoted work stops before painting, request a well defined description of what remains so the next decorating stage can be priced realistically.
When a quote includes multiple visits, ask what happens during each stage and when the interior needs to remain undisturbed between coats.
If there is a fixed move in date, reserve adequate time for the coating stages after drywall work rather than counting only the installation period.
If scheduling is the main concern, separate hands on labor from drying intervals instead of treating every visit as a full day of active work.
Explore the Ontario drywall overview for related options, or read the project planning information before arranging the next stage.
More planning details for Ontario
Ontario property improvements often involve a simple practical question: what will this wall look like when the room is back in daily use? If afternoon light crosses the surface, judge the proposed finish under that condition rather than only under overhead work lighting. Describe any wall mounted items that will be removed or added, because backing and outlet adjustments are easier to coordinate before finishing.