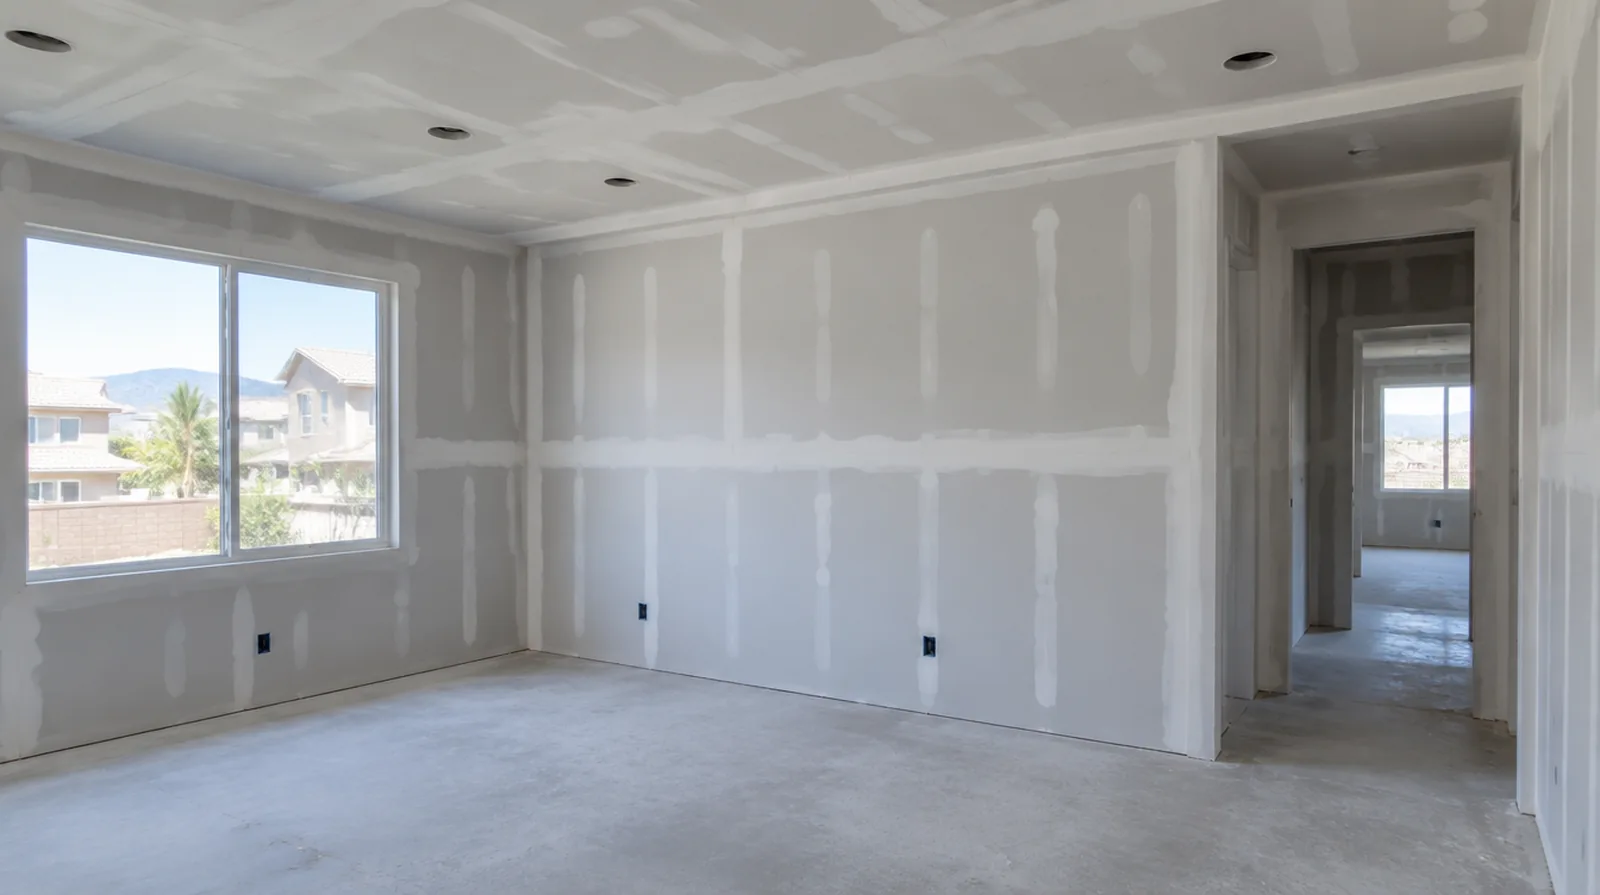
Inspect supporting framing
An uneven support plane can remain apparent after new gypsum panels are attached. Deal with significant framing irregularities while the structure is exposed, before the boards conceal it. If the finish paint is already chosen, share its sheen and color early because those choices influence how substrate preparation is judged.
Confirm concealed work
Required checks on concealed services and insulation ought to be completed while the wall remains open. A readiness record and useful photographs can reduce avoidable demolition through the new installation. For a room with restricted airflow, plan drying conditions alongside dust protection and the comfort of people occupying neighboring spaces.
Fit corners and openings
Door returns and exposed corners require a straight consistent edge before the final compound coats are applied. Select the exposed edge profile for the design and the level of contact it will receive. When panel replacement exposes a cavity, resolve any required inspection before that opening is closed and the finishing work begins.
Sequence the finishing work
Joint treatment needs suitable indoor conditions and time between coats rather than a rushed pass over damp material. Talk through how ventilation and access will be maintained while other renovation work continues. If a household member is sensitive to dust, discuss containment and cleaning expectations before choosing how to stage the interior work.
Inspect before decoration
The most useful final review happens after the surface is dry and before cabinets or wall coverings hide the edges. Use the agreed lighting and note any further preparation the painter should expect. When comparing competing estimates, make sure their protection, surface finish and disposal allowances describe equivalent work before comparing the final prices.
Lay out the joints
Arrange supported sheet edges and joint positions with the openings and final finish in mind. The installer should consider both panel support and the finishing work that follows. Where a future fixture will be installed, coordinate any required backing while the cavity is accessible instead of reopening the completed wall.
Define the finish level
Hanging board and delivering a paint ready wall are different stages that ought to be described separately. Strong side lighting or a glossy coating can justify more extensive finishing than a utility room. For a small repair with extensive setup, compare the total scope rather than assuming the price should follow the hole dimensions alone.
Control fastening depth
Fasteners should hold the board firmly without tearing through the face paper. Overdriven screws and unsupported panel edges make later finishing more difficult and can create noticeable defects. When panel replacement exposes a cavity, resolve any required inspection before that opening is closed and the finishing work begins.
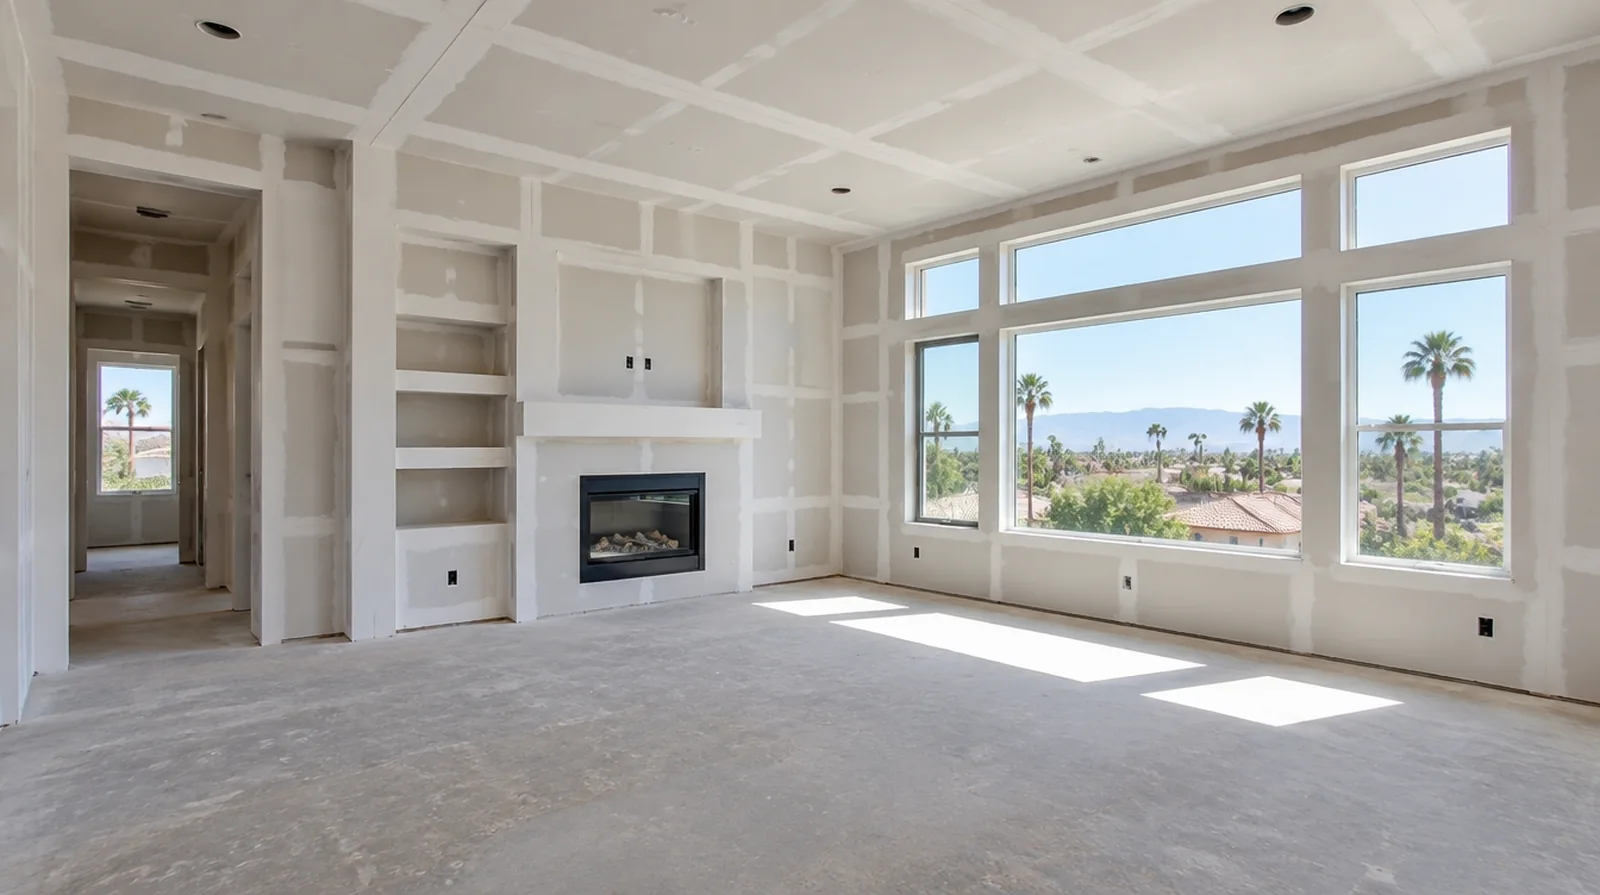
Measure the complete assembly
Calculate the board layout from all the surfaces and openings rather than the space floor area alone. A measured layout helps reduce narrow infill strips and avoidable joints around doors. When comparing competing estimates, make sure their protection, surface finish and disposal allowances describe equivalent work before comparing the final prices.
Treat perimeter details
Gaps and junctions at floors, ceilings and adjacent materials need details that suit the specified assembly. The relevant fire or acoustic assembly may specify particular perimeter seals and treatments. For walls beside bright windows, review a dry sample from an oblique angle as well as looking straight at the repaired surface.
Project context in Ontario
When a property remains furnished, plan where the contents will be protected and how the next room can remain usable. Material delivery also needs a route with enough turning space for the selected sheet size.
Scope questions before finishing
For a limited patch requiring substantial setup, assess the complete package of access and protection rather than relating cost only to the opening size.
For a surface carrying numerous paint layers, discuss whether differences in the retained profile or sheen justify decorating a broader area.
At the handover inspection, review the finish from ordinary room positions using the lighting conditions that were agreed for the work.
For a planned new wall mounted fixture, resolve its backing requirements while the cavity remains open instead of cutting into completed drywall later.
Where the quoted work stops before painting, request an explicit description of what remains so the next decorating stage can be priced realistically.
When painting is outside the proposal, describe the remaining decorative preparation clearly so another contractor can price that stage accurately.
If materials must cross common building areas, plan the protection and access route so other occupants are not needlessly obstructed by deliveries.
When the history of a repair is uncertain, note when it became noticeable and whether its appearance has altered across distinct seasons.
In a room with little free floor space, identify temporary storage for belongings and establish sufficient clearance for the work before delivery.
For a wall receiving a decorative covering, provide its preparation requirements early sufficient for the drywall finish to support that product.
When the same defect has returned, share information about previous repair methods so the next assessment can consider why they did not last.
If the current finish is unusual, keep a small reference sample or a close photograph to support the discussion about blending and restoration.
Explore the Ontario drywall overview for related options, or read the project planning information before arranging the next stage.
More planning details for Ontario
Ontario property improvements often involve a simple practical question: what will this wall look like when the room is back in daily use? If afternoon light crosses the surface, judge the proposed finish under that condition rather than only under overhead work lighting. Describe any wall mounted items that will be removed or added, because backing and outlet adjustments are easier to coordinate before finishing.