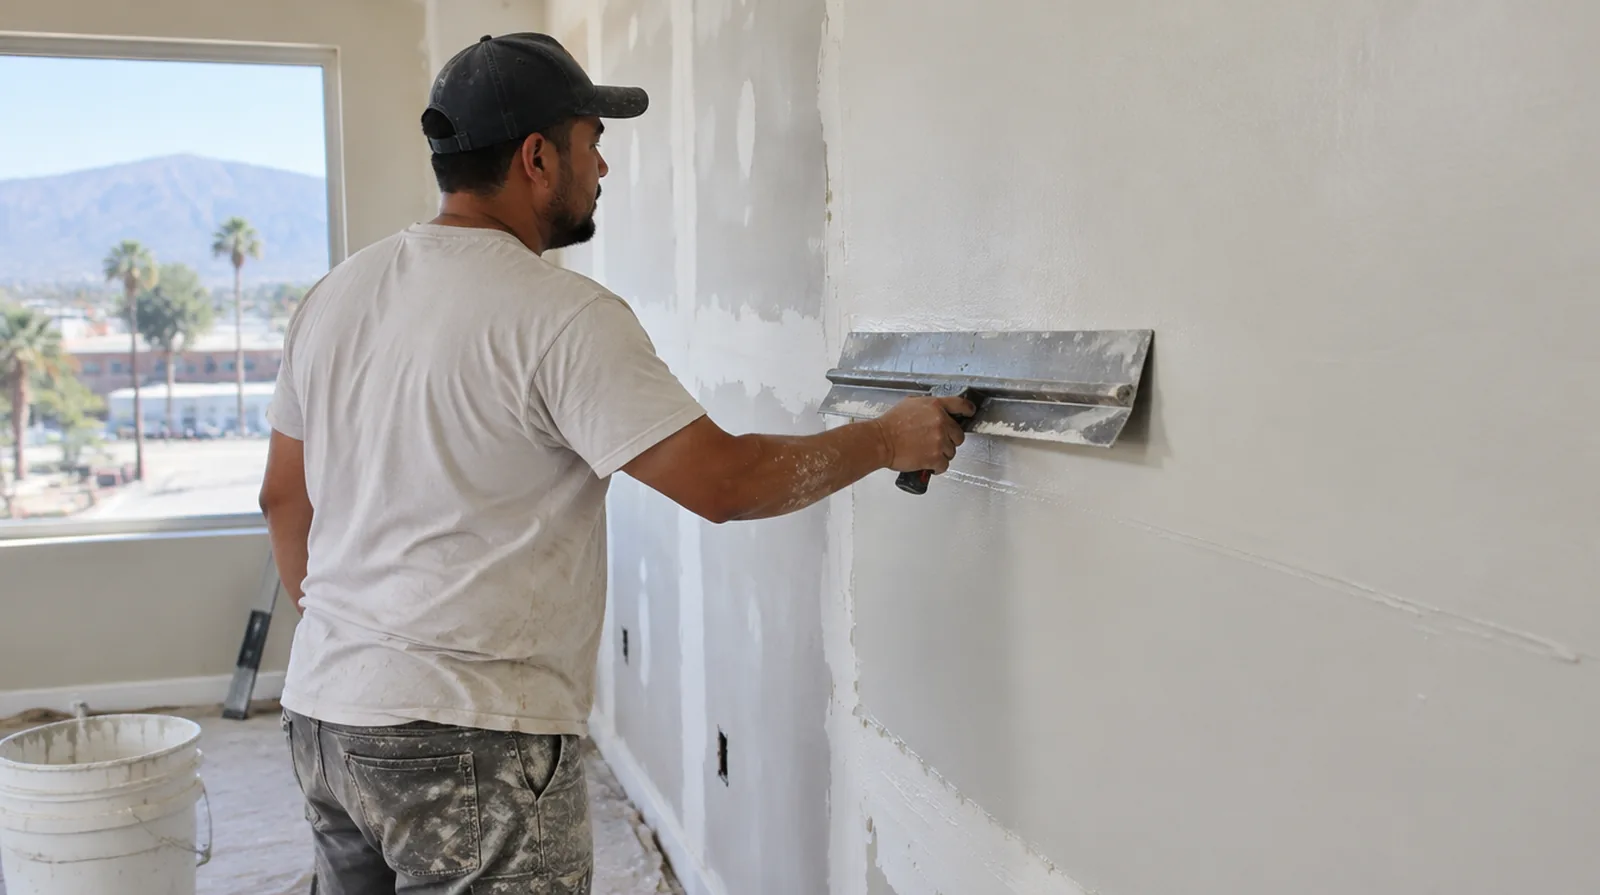
Refine with minimal sanding
Good application reduces the amount of sanding needed to achieve a uniform finish. Even so, plan dust protection and extraction for the fine particles produced by broad surface work. When a paint contractor follows the drywall work, define the surface condition being handed over and decide who handles any minor final touch ups.
Inspect using side light
A surface can appear even under direct lighting while revealing shallow tool lines from the side. Review the dry wall under the conditions that will matter after the room is decorated. Where the quoted work stops before painting, request a clear description of what remains so the next decorating stage can be priced realistically.
Assess the existing coating
A thin new finish depends on the strength of the coating that will remain underneath it. Separate peeling or poorly bonded material from a stable wall that merely needs smoothing. If the problem developed after another renovation, explain which nearby materials or building systems changed before the damage became visible.
Prime before decoration
Fresh skim compound needs an appropriate primer before the finish paint is applied. Primer helps equalize absorption and may reveal small touch ups that should be resolved before the final coat. For an initial assessment from pictures, provide an overall room photograph and a detailed view of the defect so both context and scale are apparent.
Apply controlled thin layers
Build a refined surface with controlled applications instead of a heavy unsupported deposit. More than one pass may be necessary where the existing texture creates deeper low points. Where a surface has been painted many times, consider whether differences in texture or sheen will require a wider decorative treatment.
Work around trim carefully
Baseboards, frames and fixed fittings create edges that need neat transitions and protection. Review whether removing trim is worthwhile or whether the finish will stop cleanly against it. For a room that stays in use, set a workable boundary around construction while retaining the access people need for normal daily activities.
Define the smoothing target
Flattening a light texture is different from correcting deep waves across an entire wall. Describe the expected improvement and any retained wall variation in the agreed finish scope. At an edge beside built in furniture, state whether the obstruction will be removed or whether finishing stops at the section that can be reached.
Clean and prepare the wall
Adhesion can be compromised by dirt, oil or residues left on the old coating. Preparation may include cleaning and a suitable bonding treatment based on the condition of the current surface. When comparing competing estimates, make sure their protection, surface finish and disposal allowances describe equivalent work before comparing the final prices.
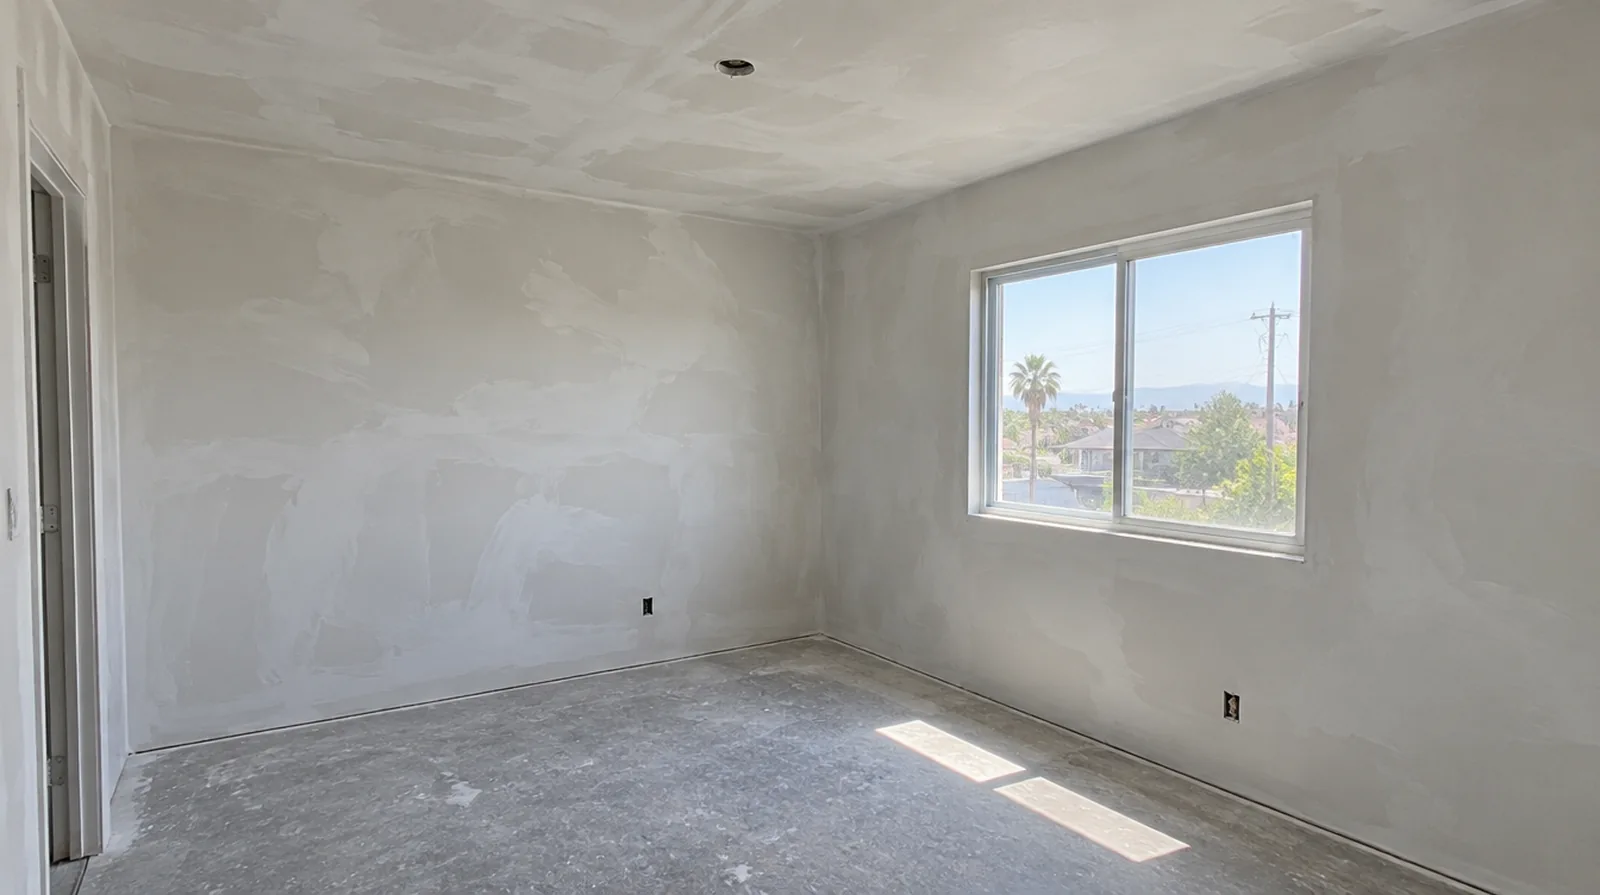
Stabilize torn paper
Exposed drywall paper can bubble when it receives wet compound without suitable preparation. Stabilize those paper defects with an appropriate treatment before beginning the broad skim application. For a tightly furnished room, plan temporary storage and the minimum working clearance before material is carried into the property.
Check underlying movement
A skim coat improves the surface profile but does not repair structural movement or unstable board. Assess recurring cracks and complete necessary reinforcement before covering the area with a skim. Where light reflects along the wall, inspect the complete plane instead of limiting the review to the edge immediately next to the repaired section.
Project context in Ontario
Ontario property improvements often involve a simple practical question: what will this wall look like when the room is back in daily use? Describe any wall mounted items that will be removed or added, because backing and outlet adjustments are easier to coordinate before finishing.
Scope questions before finishing
Where existing floors will remain, specify protective measures and review the path used by panels, equipment and finishing tools.
For an older repair with no clear history, describe when the mark first appeared and whether it has changed through more than one season.
When building management controls access, agree delivery hours and common area protection before committing to a start or finish date.
When reviewing the finished work, use the agreed lighting and natural room viewpoints so the assessment reflects the intended use of the space.
When comparing competing estimates, make sure their protection, surface finish and disposal allowances describe equivalent work before comparing the final prices.
When more damage could be hidden, ask how any added scope will be documented before extra material is removed or replaced.
If the problem developed after another renovation, explain which nearby materials or building systems changed before the damage became visible.
For a surface that will receive wall covering, share the product requirements early so the finishing stage supports the planned decorative treatment.
For a room with restricted airflow, plan drying conditions alongside dust protection and the comfort of people occupying neighboring spaces.
When the history of a repair is uncertain, note when it became visible and whether its appearance has altered across distinct seasons.
For a project with several trades, agree which inspection or handover point must happen before the next person starts work.
For a repair that crosses several surfaces, measure the affected planes separately so the estimate can explain where each finishing treatment starts and stops.
Explore the Ontario drywall overview for related options, or read the project planning information before arranging the next stage.
More planning details for Ontario
If afternoon light crosses the surface, judge the proposed finish under that condition rather than only under overhead work lighting. Material delivery also needs a route with enough turning space for the selected sheet size. When a property remains furnished, plan where the contents will be protected and how the next room can remain usable.