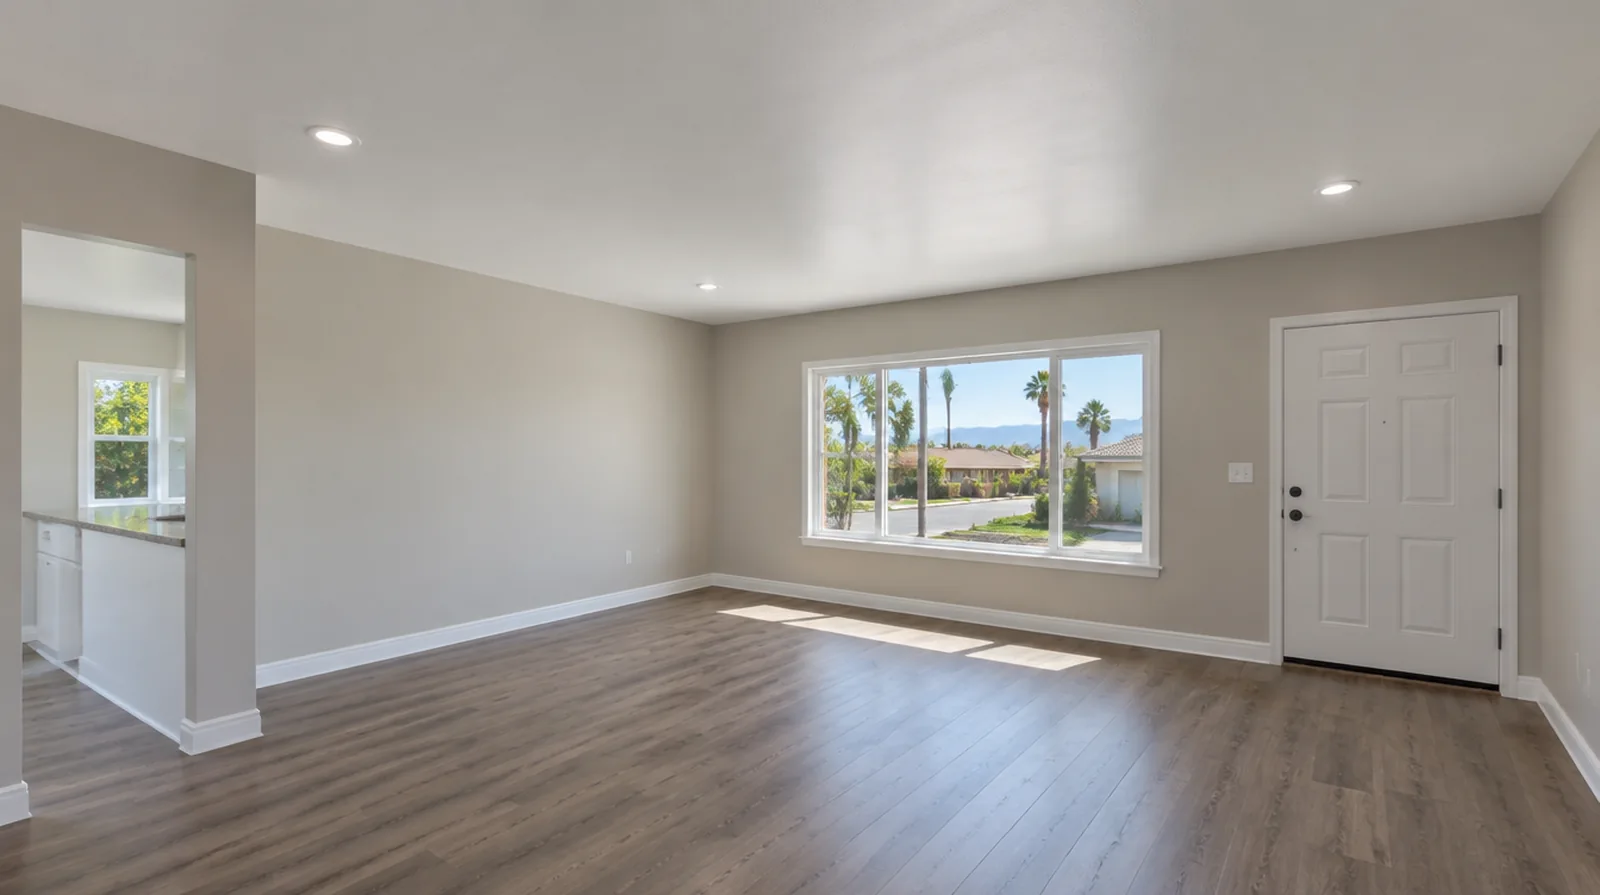
Check for painted coatings
Previously painted popcorn texture may resist simple wetting and require a distinct removal approach. Assess a controlled test area so the method, labor and potential substrate repairs are understood. Where several contractors share the renovation, identify the inspection and handover milestones that determine when each following stage can proceed.
Protect the entire room
Ceiling removal creates overhead debris that can reach walls, floors and fixtures. Talk through furniture removal, masking and the route used to carry materials out of the property. If access passes through a shared space, arrange protection and a delivery route that do not unnecessarily obstruct other occupants.
Establish material safety
Do not disturb an older ceiling texture until any material safety concerns have been evaluated. Arrange qualified testing where warranted and follow applicable requirements before disturbing the material. When the decorative coating has been selected, tell the finisher its intended sheen and color while the surface preparation standard is still being agreed.
Review ceiling condition
The texture may conceal uneven joints, old patches or an unfinished board surface. A smooth replacement finish could call for additional repair after the coating has been safely removed. If the completion date matters most, allow for intervals between coats as well as active labor rather than assuming the entire process happens continuously.
Repair exposed imperfections
Removal can uncover damaged paper or shallow defects that must be stabilized before finishing. The repair allowance should be discussed before the original texture is removed. Where light reflects along the wall, inspect the complete plane instead of limiting the review to the edge immediately next to the repaired section.
Plan cleanup and reopening
The room ought to be reviewed after debris removal and the agreed finishing steps are complete. Review the agreed surface condition and cleanup before returning the interior to normal use. When comparing competing estimates, make sure their protection, surface finish and disposal allowances describe equivalent work before comparing the final prices.
Plan fixture coordination
Light fittings, alarms and other ceiling devices may need separate handling by the suitable trade. The scope should identify who disconnects and reinstalls them rather than leaving that responsibility unclear. If the original finish is unusual, keep a small reference sample or a close photograph to support the discussion about blending and restoration.
Separate specialist work
Confirmed hazardous material removal is not an ordinary drywall scraping task. Have an appropriate professional address containment, disposal and handling before subsequent drywall finishing is arranged. Where occupants have dust sensitivity concerns, agree containment and cleaning measures before settling the way the space will be staged.
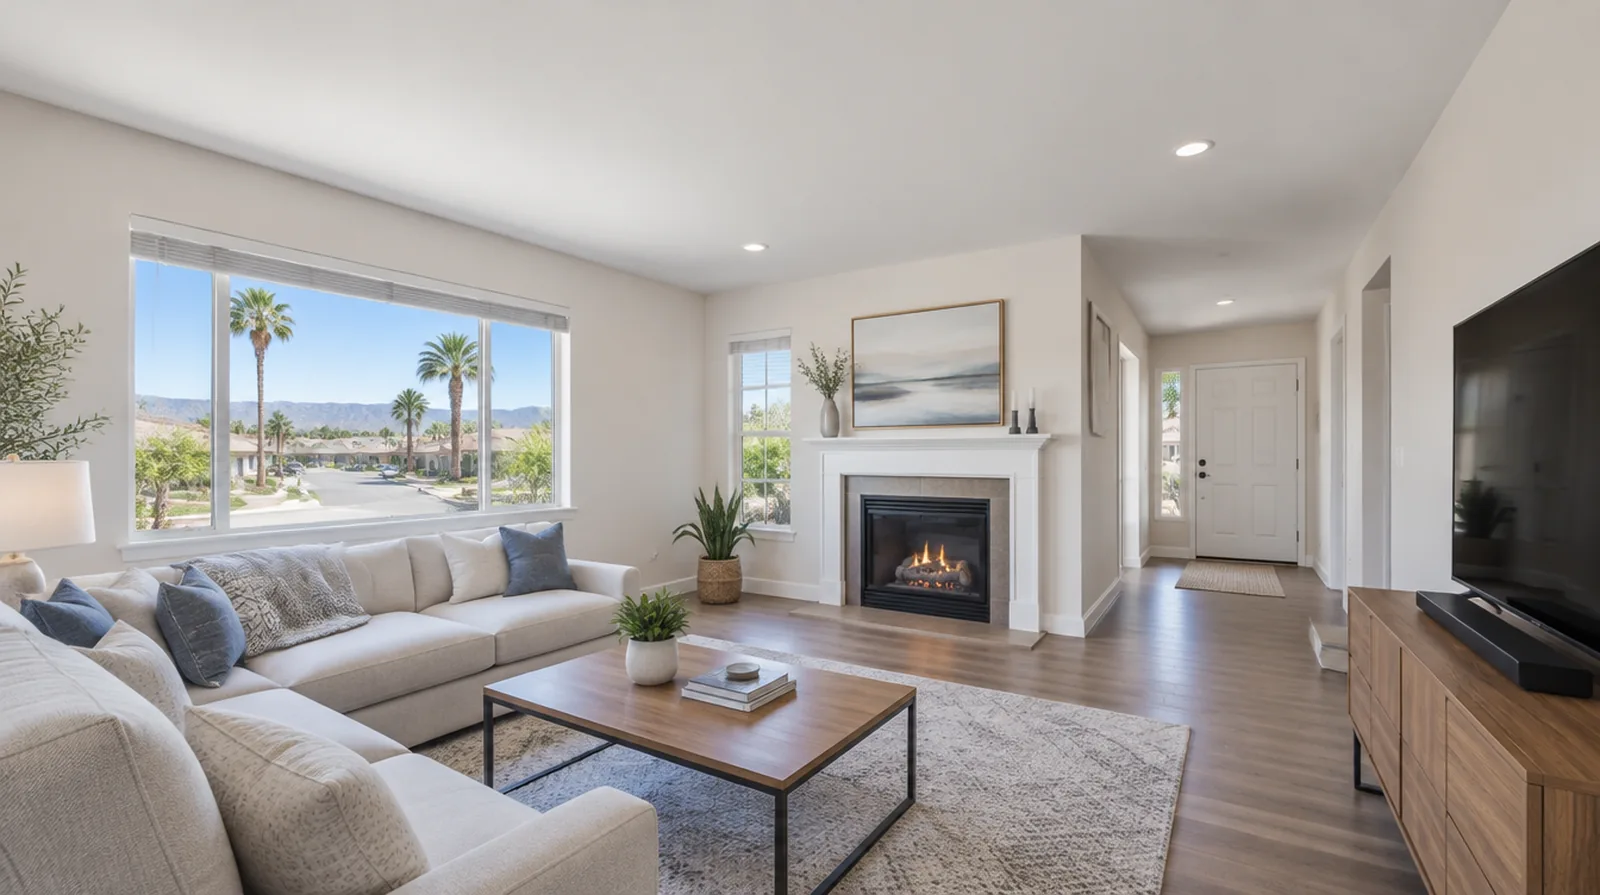
Account for side lighting
Windows and ceiling fixtures can expose shallow ridges once the heavy texture is gone. A wider skim or more extensive finishing may be appropriate for an original surface not built to remain smooth. When building management controls access, agree delivery hours and common area protection before committing to a start or finish date.
Confirm primer and paint
Plan compatible primer and paint for the exposed ceiling once repairs and finishing are dry. Clarify whether the drywall quote stops at a ready for painting finish or includes decorative coatings. If the room will remain occupied, identify a practical separation between the protected room and the space that still needs daily access.
Project context in Ontario
When a property remains furnished, plan where the contents will be protected and how the next room can remain usable. Describe any wall mounted items that will be removed or added, because backing and outlet adjustments are easier to coordinate before finishing.
Scope questions before finishing
If the surface condition is uncertain, allow for an assessment that can distinguish stable material from layers that ought not to be covered.
When the work area includes a doorway, check the clearance for panel movement as well as the amount of space available for finishing tools.
When photographs are used for an initial discussion, include a wide room view as well as a close view so scale and surrounding finishes are understandable.
Where light reflects along the wall, inspect the complete plane instead of limiting the review to the edge immediately next to the repaired section.
For work spread across distinct planes, record their dimensions separately and describe the boundary of the treatment on each surface.
For an older repair with no clear history, describe when the mark first appeared and whether it has changed through more than one season.
Where flooring is staying in place, agree on protective coverings and check that tools and material handling will not damage the visible finish.
For a surface carrying numerous paint layers, discuss whether differences in the retained profile or sheen justify decorating a broader area.
Where several contractors share the renovation, identify the inspection and handover milestones that determine when each following stage can proceed.
For a project involving a building manager, confirm access hours and protection requirements before promising a start date or a short completion window.
If the proposal requires return visits, identify the purpose of each stage and the intervals during which finishing material needs to remain undisturbed.
For a project with several trades, agree which inspection or handover point must happen before the next person starts work.
Explore the Ontario drywall overview for related options, or read the project planning information before arranging the next stage.
More planning details for Ontario
Ontario property improvements often involve a simple practical question: what will this wall look like when the room is back in daily use? If afternoon light crosses the surface, judge the proposed finish under that condition rather than only under overhead work lighting. Material delivery also needs a route with enough turning space for the selected sheet size.